Description
Make Your Custom Picture With Painting By Numbers Kit Acrylic Oil Painting for Adults, Beginners

Creating a personalized "Paint by Number" kit involves several steps to ensure that the final product is both unique and user-friendly. Here's a detailed guide on how to approach this:
1. Design Concept
- Source Image: Start with a high-resolution image that the customer wants to paint. This could be a photograph, a piece of art, or any image that holds personal significance.
- Rights and Permissions: Ensure you have the rights to use and modify the image, especially if it's copyrighted material.
2. Image Preparation
- Resolution: The image should be at least 300 DPI for clear printing.
- Color Reduction: Use software like Adobe Photoshop or GIMP to reduce the image to a manageable number of colors (typically between 10-30 colors for ease of painting). This involves:
- Converting the image to indexed color mode.
- Using tools like "Reduce Colors" or "Posterize" to simplify the color palette.
3. Numbering System
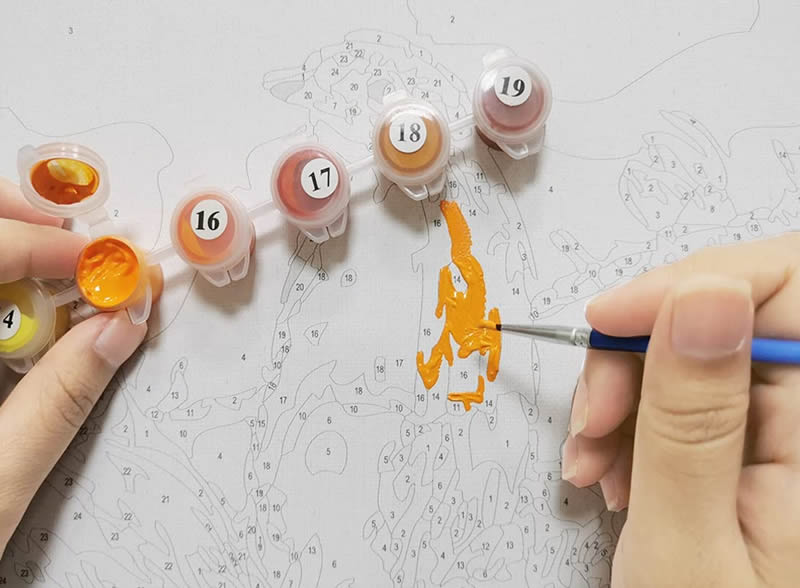
- Assign Numbers: Each color in the reduced palette is assigned a unique number. This can be done manually or with custom software that identifies color zones and assigns numbers.
- Color Chart: Create a chart that matches each number to its corresponding color. This will be included in the kit.
4. Canvas Preparation
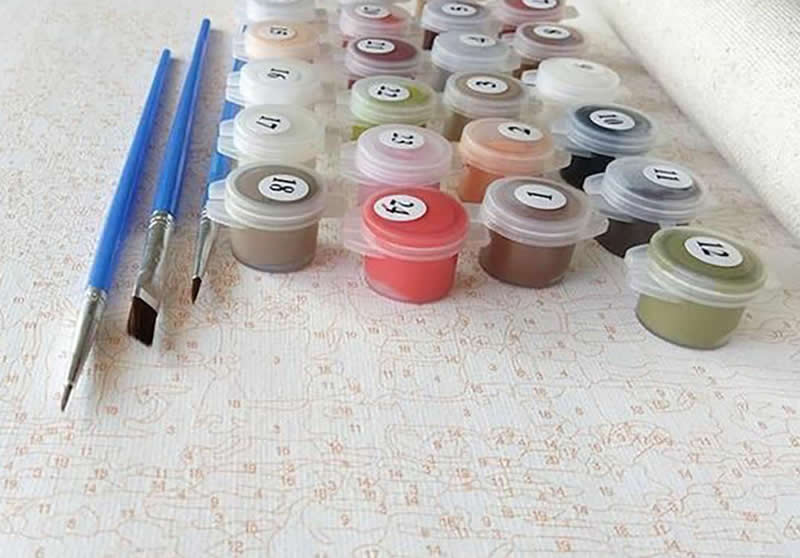
- Printing: Print the numbered image onto canvas or high-quality paper. Ensure the numbers are clear but not overwhelming.
- Canvas Size: Choose an appropriate size based on the detail of the image and the customer's preference. Common sizes range from 16x20 inches to larger formats.
5. Paint Selection
- Quality: Use acrylic paints for best results. They dry quickly and are easy to use.
- Colors: Match the paints as closely as possible to the colors in the image. Sometimes slight adjustments might be needed for better painting experience.
- Quantity: Provide enough paint for the project, considering some might be wasted or mixed.
6. Packaging
- Kit Contents: Include the canvas, paints, brushes of various sizes, a mixing palette, water containers, and perhaps a stand or clips to hold the canvas.
- Instructions: A detailed guide on how to start, tips for blending colors if necessary, and finishing touches.
7. Customization Options
- Frame: Offer an option to include a frame, either as part of the kit or as an additional purchase.
- Personal Messages: Allow space or a small section for adding personal messages or names within the artwork.
8. Quality Control
- Test Run: Before mass production, do a test run to ensure the image quality, color accuracy, and ease of use.
- Feedback Loop: If possible, get feedback from early users to refine the process.
9. Marketing and Sales
- Online Platform: Develop a website or integrate with existing platforms where customers can upload their images, choose kit options, and place orders.
- Unique Selling Points: Highlight the personalization aspect, quality of materials, and the emotional value of turning personal photos into art.
10. Customer Support
- Help Guides: Provide online tutorials or support for customers who might need help with their painting.
- Return Policy: Clear policies on returns or exchanges, especially if there are issues with the kit.
This process not only creates a unique product but also engages customers in a deeply personal way, potentially turning a simple craft into a cherished keepsake.